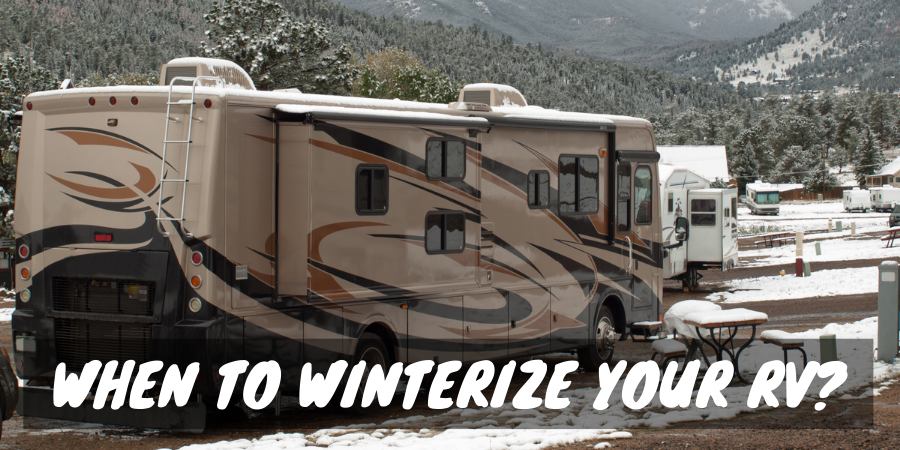
When you own an RV, when to winterize your vehicle is a common question.
Not everyone with a recreational vehicle will need to winterize if they live or travel in warm climates, but everyone should know how to because you never know what the future or crazy weather holds.
To help you understand the ins and outs of RV winterizing, all the information you need is right here. By reading to the end, you’ll be ready for anything.
Why RV Winterization Is Important
When an RV sits for a length of time without being driven, you have to take measures to ensure it will start up and be ready for the next camping trip.
When RV storage happens during cold months, winterizing is critical to avoid extremely costly, sometimes devastating damage to your RV, such as:
- Burst water lines
- Hot water tank or propane system damage
- Cracked fresh or sewer tanks or toilets
- Loose caulking
- Pest infestations
- Flat or misshapen tires
- Loose fittings on water or propane lines
- Awning damage
The term “winterization” should include any storage time, as prepping the RV for long-term parking any time of year can create problems when not done correctly.
It’s not uncommon for freezing temperatures (below 32 degrees Fahrenheit) to hit historically warm regions, so never feel safe if your RV is in storage in Florida and you haven’t fully winterized. You may come back to find a nasty surprise when you hook up to water on your first trip of the year, and it’s shooting out everywhere, flooding your RV!
When To Winterize an RV
You want to begin winterizing preparations, starting with a deep cleaning, as soon as you finish with RV travel for the year. For most people, that is in the fall when kids go back to school, or the weather begins to turn colder.
For those in more temperate regions, you may not need to winterize until early December. The important key to proper RV winterization is getting it done before freezing weather hits.
Who Can Skip RV Winterization
Full-time RVers or those who live in extremely southern regions can skip winterization. Everyone should be ready to take steps to protect their RV systems from damage if freezing temperatures do hit while they are traveling.
The best tip to prevent water line damage is to cover inlet hoses with foam insulation, which is inexpensive and readily available at any home improvement store. On the interior of the RV, leave the faucets running at a slow trickle to keep water from freezing inside the pipes.
Always inspect the pipe and drain line fittings for tightness after freezing temperatures, as it’s common for them to loosen up in RVs. Look under your cabinets or vehicle for drips that indicate a problem. Most times, just a quick turn and tighten will fix the leak.
Also, inspect all your roof and trim caulking to ensure it hasn’t shrunk or cracked, which can allow insects and water to enter.
RV Winterization Supplies
All RVers should keep on hand the basic winterization supplies, which include:
- 2-3 gallons of non-toxic antifreeze
- Bypass kit for water heater
- Grey and black tank cleaning solution with long wand attachment for hose
- Kit to convert water pump to add antifreeze
- Tool that removes drain plug fittings
- Mouse and insect repellants
- All-weather caulk that matches RV
- Spray foam
- Fuel stabilizer
- Insulation sheeting
- Tire blocks and covers
Steps to Proper RV Winterization
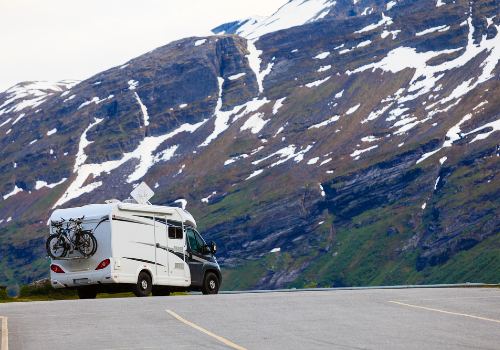
Learning how to winterize your RV may take practice, but anyone can learn the system and keep their recreational vehicle in top condition.
Many RV dealerships off winterizing “deals” that average around $100. While having someone else tackle this project can save you the hassle, be aware that additional charges will accrue for tankless water heaters, dishwashers, washing machines, and ice makers, which can significantly increase the final cost.
When you do it yourself, you can make a checklist, follow the steps below, and ensure everything is correct.
Not every RV will require every step and always read the owner’s manual (if you have one). That should have a winterizing section specific to that model.
1. Remove Water Filters and Bypass the Line
If your RV has a water filter system, remove the filter inserts and turn the waterline valves to bypass the units. Winterization involves running antifreeze through the waterlines, which can damage the filter system.
Removing the filters also gives you a chance to inspect the system for broken or deteriorating components, such as gaskets, that you can replace now so you’re ready for spring.
2. Drain Freshwater Tank
There should be a drain valve for your freshwater holding tank that is easily accessible. Some may be near the tank’s base inside your RV, or there may be a drain plug you access from underneath the rig.
Open a sink faucet to allow air into the system, which will drain the tank faster if your tank doesn’t have an airflow plug.
3. Drain and Clean Black and Grey Holding Tanks
Using an authorized dump station, drain out both your grey and black water tanks using your sewer hose. Close your tank valves and prepare for the cleaning and sanitizing of the tanks.
Some RVs have an integrated tank washing system, while others will require attaching a long tank-washing wand to a hose to reach all the corners of your tanks. You can purchase tank-washing kits at RV stores and online.
Pour an eco-safe cleaner into your tanks and use the wand, or turn on the integrated washing system to swish the water around. Some people find taking a short drive in the RV another way to slosh the cleaning chemicals around the tank to remove any built-up debris.
Once your tanks are clean, drain the tanks again at the dump station. Close valves and take a moment to lubricate them with a non-petroleum-based product if they feel sticky. Remove the sewer hose so you can clean that as well.
Holding both ends of the sewer hose higher than the middle, pour some cleaning solution into one end along with some water. Another person makes this task easier. Using an up-and-down arm motion, alternate running the cleaner back and forth along the sewer pipe’s length without letting the chemicals spill out.
After cleaning the sewer hose, attach one end back to the dump station valve and lift the other end to let the liquid drain out. Rinse the sewer hose with fresh water for a few minutes, then detach it from the dump valve and store it as usual.
4. Drain Water Heater
When your water heater is turned off and cooled down, it’s time to drain it. Some RVs have a separate switch to turn off the heating element. Make sure this is off before draining the tank.
Get out your manual to locate and remove the drain plug on the water heater. It’s typically a sizeable screw-in bolt near the tank’s base that you access from the exterior water heater door.
Open the water heater’s pressure relief valve, all faucets inside the RV (both hot and cold sides), any toilet or shower valves, and any other low-point drain lines.
Most RV water heater tanks hold six gallons of water, taking a few minutes to drain completely. Once the last drops come out, recap the drain plug, and close up all the faucets and other drains around the RV.
5. Bypass the Water Heater
Bypass the water heater by installing a kit or shutting the valves if your RV has a bypass system already installed. You do not want to waste antifreeze by filling your water heater tank with it!
6. Add Antifreeze to Waterlines by Using a Water Pump Converter Kit
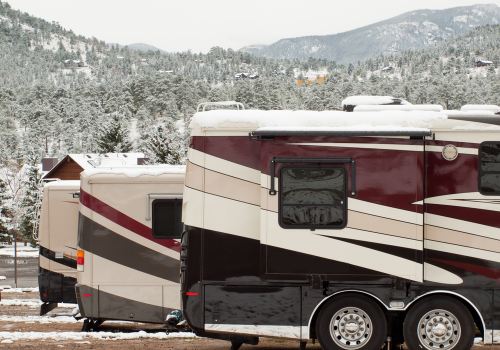
Install or use an existing water pump converter kit so you can use the pump to disperse the antifreeze through your RV pipes quickly.
The kit should allow a tube to connect one end to the inlet side of the water pump and the other end to the container of antifreeze. Once you have the line in place, turn on the water pump and let the system pressurize.
Slowly open the nearest faucet, working both the cold and hot sides until you see antifreeze appear. Shut the faucets and move to the next closest tap. Watch the antifreeze level in the container and switch to a new bottle when necessary.
Turn on the shower until you see antifreeze come out, and don’t forget to open any outside showers or faucets. Lastly, flush the toilet several times until antifreeze appears, and flush several cups down into the black tank.
Turn off the water pump. Open any faucet to relieve pressure in the lines.
Go outside and open your freshwater intake plug, then remove the screen. Using the end of a screwdriver, push in on the valve until you see antifreeze. Replace the screen and cap.
7. Finish Antifreeze Tasks
Go around and pour a cup or so of antifreeze down each sink and shower drain. Add 3-5 cups to the toilet bowl, so the rubber toilet flange stays covered during storage duration.
8. Deal With Dishwasher, Ice Maker, and Washing Machines
Want to Connect With a Community of Over 1,078 RV Enthusiasts?
If your RV comes with extra, non-standard appliances, you will need to refer to your owner’s manual for specific winterizing instructions.
All makes and models will have different methods to safeguard the appliance from freezing weather or long-term storage. If you cannot locate the information, check online for instructions or call the manufacturer directly.
Shut Off All Propane (LP) Appliances
Make sure the valve is shut on all other propane-run appliances aside from your water heater, such as:
- Furnace
- Refrigerator
- Range and oven
Close off and remove any external propane tanks to store elsewhere.
10. Protect Against Pests
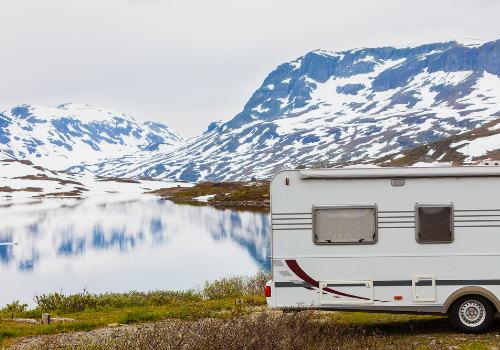
Insects and furry little critters love to hide out and reproduce inside RVs during storage. First, make sure all food, down to the tiniest crumb, is removed from the unit. Even food stored in plastic tubs is no match for hungry mice with all kinds of time to gnaw.
Do a preliminary search for any holes inside, outside, and under the RV that allow entry. Fill gaps with spray foam or caulking.
Spray all around the interior with a bug-killing product that offers long-term protection.
Inside, lay out traps or poisons to catch any mice or rats that may enter. Many motorhome owners also lay some traps under the engine hood, and all RV owners can also set some bait traps up under the rig on top of axles or wheel wells.
You can use non-harmful deterrents such as tucking fragrant dryer sheets or cotton balls soaked in peppermint or lavender essential oil into the backs of cabinets, inside drawers, around the furniture, and in the cab area of motorhomes, as mice find the odor unpleasant.
11. UV Protection
Interior surfaces like curtains, furniture, carpet, and dashboards can fade or crack when left to sit under the harsh rays of the sun.
Put up a foil-backed insulating material against the interior of all windows to reflect UV rays. Rolls of this material (think silver bubble wrap) are sold at RV and home improvement stores.
Close any shades to the darkest setting for an additional barrier against the light.
12. Protect Exterior and Tires
Head outside and cover the air conditioner unit, awning, and tires with thick, high-quality, UV-resistant covers. Some RV owners may choose to tarp their whole unit, but this is not necessary.
If tires will be sitting on a surface that can get wet and freeze, roll the RV tires up onto wooden or plastic blocks to prevent damage. To keep the integrity of the tire shape, use blocks that have a concave curve to them, which prevents flat spots from forming.
13. Stabilize Motorhome Gas or Diesel Fuel
Fill your tank to prevent the formation of condensation during storage, and add a stabilizer for your fuel type.
Gasoline typically stays good for at least three months, but all fuel can grow bacteria over time, which can lead to engine damage. A stabilizer will protect against any possible contamination.
Be Travel Ready
Now that you know why, when, and how to winterize your RV, you can use the information to protect your RV investment. You’ll find the steps aren’t as time-consuming or as complicated as they first seem with practice.
By winterizing your RV the right way, at the right time, you can avoid dealing with costly damage and instead start your next travel season off safely and without delay!
How to Winterize an RV (Video)
"Man cannot discover new oceans unless he has the courage to lose sight of the shore."
-- Andre Gide

